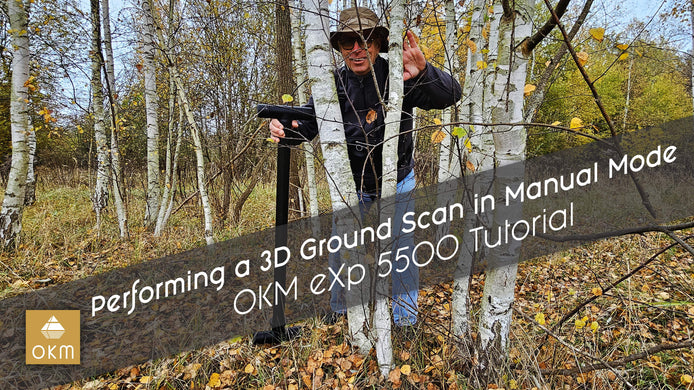
OKM eXp 5500 | 3D Ground Scan with ZigZag Mode

Scanning with the eXp 5500
At OKM GmbH, we develop high-performance ground scanners for professionals in archaeology, treasure hunting, geology, and technical detection. Trusted worldwide for their precision and durability, our devices help uncover hidden structures and artifacts below the surface. One of our most advanced tools is the OKM eXp 5500 Professional, a versatile 3D ground scanner equipped with cutting-edge sensor technology and flexible scan modes.
In our latest video tutorial, OKM expert Frederic introduces one of the most effective scanning techniques available with this device: the ZigZag Scan Mode. This method is tailored for users who want to scan large, flat areas quickly while maintaining accuracy and detail. It's especially useful for experienced detectorists and field technicians seeking to streamline their scanning process.
From Setup to Scan: A Complete Walkthrough
Frederic begins by preparing the system for scanning. The Control Unit should be fully charged before use, and the Super Sensor needs to be connected with two or four Enhancers, depending on the user’s preference. The sensor is then mounted to the PentaSense Rod and aligned in the direction of the scan — a crucial step to ensure consistent results. Once assembled, the Control Unit is switched on, and the 3D Ground Scan mode is selected from the menu. For this method, ZigZag mode is chosen, with impulse mode set to automatic. Optional features like LED Orbit and acoustic feedback are also activated to support a smoother scanning experience.
How ZigZag Mode Works
Unlike standard scanning patterns, ZigZag mode allows the operator to move forward and backward across the field in a continuous, efficient motion. The key here is consistency: all scan lines must remain parallel, and the probe must always point in the same direction — without being turned or rotated.
Frederic demonstrates two practical techniques for switching scan lines without disrupting the sensor’s orientation. Whether you prefer turning around and switching hands or walking backward in the same direction, both methods help ensure that your scan remains clean and structured. During the scan, maintaining a steady pace and a consistent height above the ground is essential. Small changes in speed or positioning can influence the quality of the data, so careful handling pays off.
Saving and Reviewing Your Results
After covering the scan area, Frederic shows how to save the scan by entering the length and width of the field. The results can be viewed immediately in 2D or 3D on the Control Unit. For deeper analysis, the data can also be transferred to a Windows PC and opened in Visualizer 3D Studio, OKM’s powerful post-processing software.
This allows you to replay the scan, check for anomalies, and evaluate the data before moving on to your next target area.
Why you schould watch
If you're already using the eXp 5500 Pro and want to scan more effectively, this tutorial contains valuable knowledge. With clear explanations, visual examples, and professional tips, Frederic shows how to get precise results with less effort — all while making the most of OKM’s advanced technology.


